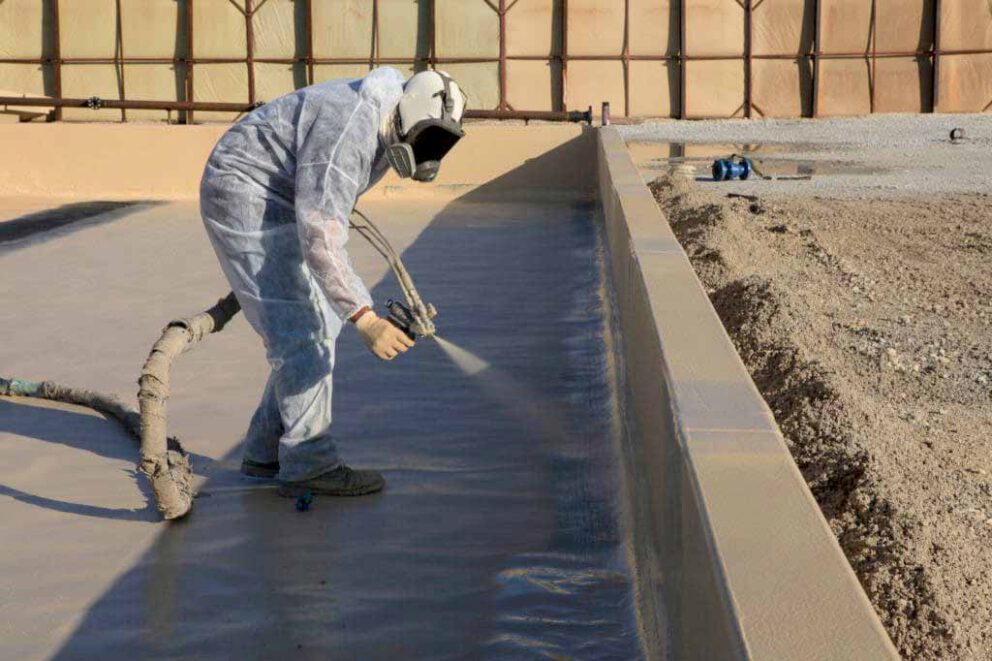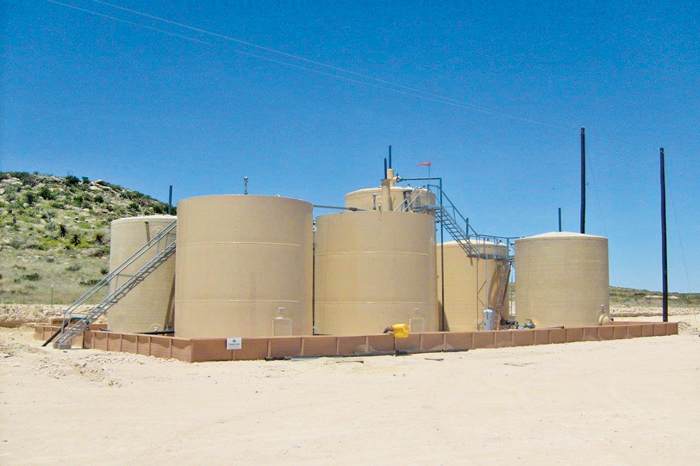

A foam containment berm is the simplest containment system on most sites and the one most often set up badly. The berm itself rarely fails. What fails is a corner that was folded under the floor, a pad nobody swept, or a wall a truck crossed at forty-five degrees. This is the procedure our field members use.
Before you unroll anything#
Check the berm#
Unroll it once on clean ground and walk the floor. You are looking for punctures, abrasion through to the foam, disbonded coating at the wall-to-floor transition, and any sign the foam core has taken on water. A closed-cell core that has absorbed water and been through a freeze cycle will feel soft or crunchy at the wall base – that berm is finished and should be retired, not deployed.
Prepare the pad#
This is the step that decides whether the berm survives the job.
- Sweep or blade the footprint clear. Rock, rebar offcuts, weld spatter and frozen clods are what puncture floors
- Knock down high spots; the floor should sit flat with no point loads
- Check the fall of the ground – you want level, or a very slight fall away from the entry point
- On gravel, consider a cushion geotextile under the floor; it costs little and doubles the floor life
- Confirm there is no storm drain, culvert or ditch inside or immediately downgradient of the footprint
Deployment#
- Orient to the drive path. Unroll so that the entry and exit walls sit square to the direction of travel. A wheel crossing a wall at an angle concentrates the whole axle load on one corner, and that is where walls tear.
- Roll out from one end. Two people on a 12 by 16, working from one end so the floor lies flat rather than being dragged into position.
- Set the walls upright. Walk the perimeter and bring every wall section to full height. Sidewall supports, if fitted, go in now.
- Seat the corners. Kneel at each corner and confirm there is no fold trapped under the floor. A folded corner leaks the first time it takes liquid or weight, and it will look fine from standing height.
- Ballast or stake if exposed. An empty berm is light and will move in wind. Stake only through the designated tabs. A stake through the containment floor turns the berm into a drain.
- Position response equipment. Sorbent kit and drain covers staged at the berm, upwind, before the first transfer.
Crossing the wall#
Drive-over capability is the reason to buy a foam berm rather than a rigid one, and it is not unconditional.
- Cross square to the wall, never at an angle
- Cross at walking pace – the foam needs time to compress and recover
- No turning on the wall; make the turn before or after, never on it
- No tracked equipment over the wall unless the berm is rated for it in writing
- Do not park with a wheel resting on the wall – sustained compression is different from a crossing
The pre-shift walk#
Two minutes at the start of every shift, logged.
- Floor free of punctures, cuts and abrasion
- No debris that has blown or been dropped in
- Walls upright, corners seated, no folds
- Accumulated water noted with an estimated depth
- Any sheen on standing water noted and reported before anything is pumped
Getting water out#
Rain is the routine problem with any outdoor berm, and the temptation to cut a drain is where good berms die.
- Inspect the water. Look across it at a low angle for sheen, and check for a rainbow film at the wall line.
- If there is any sheen, it is not rainwater. It is oily water, and it goes to the appropriate waste stream.
- If it is clean, pump it out. Log the date, time, estimated volume and who inspected it.
- Never cut, puncture or install a fitting in a berm that was not supplied with one.
In freezing conditions, remove water before it freezes. Ice expanding against a wall base will delaminate the coating from the foam, and that damage is not visible until the thaw.
Repair#
A punctured berm is repairable and should be repaired rather than replaced, provided the foam core is dry.
- Clean the area and let it dry completely
- Abrade the coating around the puncture to give the patch something to key into
- Apply the patch material from the manufacturer kit, working well past the damage
- Let it cure fully before returning the berm to service – check the data sheet, not the clock on the wall
- Photograph and log the repair
A patched berm with a documented repair is a maintained asset. An undocumented patch raises the obvious question about what else was not recorded.
Breaking down and storing#
- Remove all liquid and let the floor dry before folding – a berm folded wet grows mould in the fold lines and hides damage
- Sweep the floor clean; grit folded into the berm abrades the coating in transit
- Fold on the manufacturer fold lines, not new ones – repeated folding on a fresh line cracks the coating
- Store off the ground, out of direct UV, and away from anything sharp
- Record the deployment in the equipment log so service life is tracked
Sizing a berm for the job#
If you are specifying rather than deploying, the capacity calculation is straightforward: footprint area multiplied by wall height, converted at 7.48 gallons per cubic foot. Our berm sizing tool does it interactively and also returns the wall run and coated area, which is what you are actually paying for.
One caution on capacity: the calculation assumes the full wall height is usable. Outdoors, deduct freeboard for rain and wave action, or you will be pumping in the middle of the event you built the berm for.